I’m back in America, on the Internet, and at a computer. As such, I’ve updated the past two entries with images! Read them again… for the first time.
Hope you’ll forgive the way Samus flips back and forth between armored/unarmored, and the occasional emulator cruft — these screens are generously provided by Rey at VG Museum, so the breakdown of specific screens depends on his whims at the time of capture.

Despite the poor telegraphing of Samus’ post-Bomb-acquisition pathway, the game still does a pretty good job of leading you to some of your next essential goods. While the Missiles, Bombs, and Maru-Mari are the only absolute gear requirements for completing the mission, you can find a few more items littered throughout Zebes to make the quest far more reasonable.
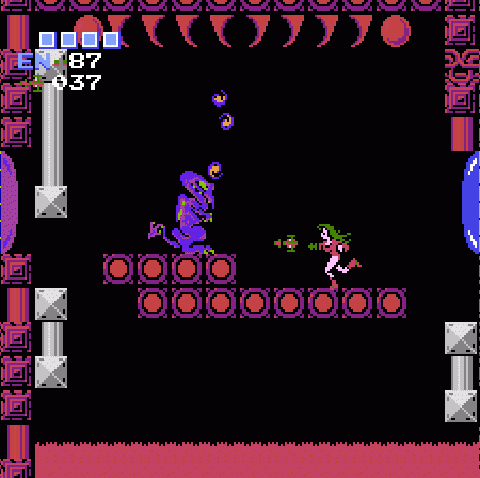
As an aside, I’m in agreement with some of the reader comments that forgive the weird disconnect in the placement of Ridley and Kraid. The former’s lair is convoluted and filled with the hardest-hitting enemies in the game outside of the final area, while the latter’s lair offers a remarkably direct path to the encounter and features creatures barely more powerful than those in neighboring Brinstar. Yet Kraid packs a wallop with his two-pronged projectile barrage of spikes and spines, while Ridley’s sole offensive measure travels one of two arcs, one of which leaves a Samus-sized gap right at the boss’ feet. You can literally stand in one spot and pump him full of Missiles without taking a point of damage.
Why the incongruity? I’m going to chalk it up to the fact that no one had ever created mid-game bosses like Kraid and Ridley before, and certainly not in a sandbox environment. Heck, Metroid’s manual introduced the term “minibosses” to the world; when a friend first tried to explain their existence to me, all I could see in my mind were little mafia dons with tommy guns — clearly not a bit like the reality of Metroid. The fact that Zebes’ zones hint at a proper line of progression with enemy damage tallies is admirable enough that you can’t be too bent out of shape over the fact that the bosses themselves don’t really match the difficulty curve of their surroundings.
The most important non-essential item in the game makes itself evident for the attentive. Actually, even the inattentive can find it regardless of their competence, because it appears in two different locations, one of which isn’t particularly hidden. But for the keen-eyed, one Ice Beam awaits in Brinstar, not at all far from the Bombs. You wouldn’t intuitively know to go there — certainly its hiding point is less obvious than the path the Kraid’s lair, which begs for exploration (whether correctly or not) once you’ve grabbed the Bombs — but you can easily break the game wide open in a matter of minutes by collecting the two weapons in sequence.
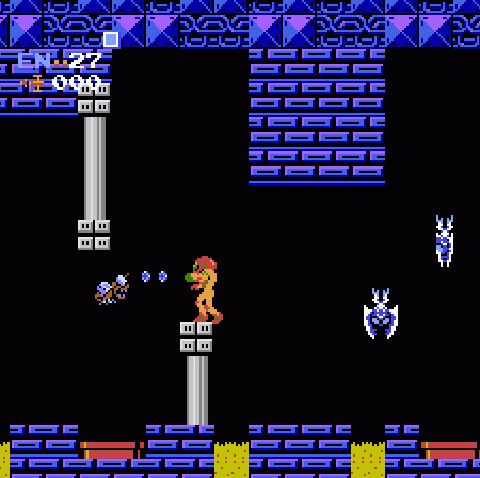
The Ice Beam makes for an interesting upgrade. Again, it handily fulfills the Metroid mandate of extending the reach of Samus’ exploration while simultaneously making her more powerful. Although, technically, the Ice Beam makes Samus less powerful, requiring her to shoot an enemy twice as many times to destroy it as with her normal beam. Rather than increase her damage output, the Ice Beam causes her gun to fire a dual mode beam that freezes and unfreezes enemies. Frozen enemies defy physics by becoming temporarily rooted to the spot at which they’re struck… even if that spot involved being in motion dozens of feet above the ground. Does it make sense? No. Is it cool and useful? Oh yes.

A frozen enemy becomes completely harmless. Not only will it neither move nor attack while frozen, but Samus can leap on its back to use as a stepping stone. This can prove incredibly useful in many situations. Many of the game’s vertical shafts include no platforms at all, only Rippers drifting back and forth. Even the invincible yellow ones can be frozen; in fact, they exist entirely for the purpose of using as makeshift platforms. When you shoot a normal, destructible enemy that’s been frozen, it thaws instantly (rather than the freeze effect wearing off after several seconds), but shooting a frozen invincible enemy simply extends the duration of the freeze. As such, you’re able to chain together frozen creatures as long as you need to reach otherwise inaccessible areas.
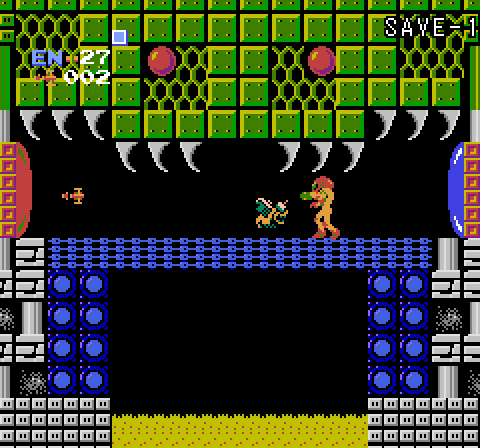
The Ice Beam also proves handy against infinitely respawning creatures, such as the various types of insects that appear from the pipes, rise to Samus’ height, and zip toward her. They can be persistent irritants, but each spawn point will only allow one creature to be in play at a time. Without the Ice Beam, the only way to halt their appearance is to wait until one drops a health or Missile pickup, causing that spawn to fall out of play until the drop disappears. But you can also simply freeze foes, removing them from your threat radar long enough to traverse a tricky area.
Very few areas in the game actually require the Ice Beam (especially if you’re willing to exploit the wall-jump glitch) with the exception of the final area, Tourian: The Ice Beam is the only way to destroy the game’s crushingly dangerous eponymous monsters.

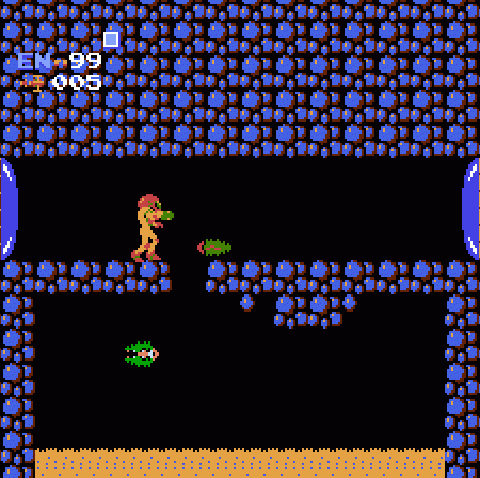
What’s clever about the Ice Beam in Brinstar is that it’s hidden in a way that draws your attention. It’s located off a shaft beneath a bridge — one that doesn’t appear to include breakable blocks. Yet for some reason you can see an enemy flying around beneath it, which seems odd; it’s not like Metroid to include creatures you can’t blow up. And on top of that, if you watch its movement, it sometimes flies into the water below the bridge and disappears, seemingly caught on something out of sight. This is in fact your clue that not only can you blast a hole in the bridge to reach the space below, you can drop through the illusory liquid to the shaft below.
If you don’t figure this out right away, a second Ice Beam appears in Norfair as well. But either way, you’ll first need to learn the most subtle and unintuitive trick in Metroid’s entire arsenal of secrets….

I didn’t get a chance to mention this on the last post, but I’ve confess that I’ve never actually found the fake Kraid. I don’t know how, since I’ve played the game intentional looking for him and looking at a map I see it’s a relative straight line to get to him.
Getting to the topic at hand, I really like how they clue you in on the Ice Beam. If I remember correctly, doesn’t isn’t the only way up the shaft by freezing the Rippers? I may be mixing it with memories of Zero Mission though.
Also, the minibosses comment made me imagine Ridley and Kraid in suits with tommy guns.
I never really thought about the difficulty disparity issue with Kraid and Ridley, but you make a good point. For the longest time, I actually thought that Kraid *only* took damage from missiles, based on a sentence in “Nintendo Strategies,” one of the poorest strategy guides ever written - not to mention my own assumptions based on the fact that the red rippers could only be destroyed with missiles. I always found those things a bit of a curiosity.
I’m curious to see what else you have to say about Norfair/Ridley’s Lair in the latter part of your analysis. There are three particular issues that bugged me about that place when I went back to play it for my 80th NES review back on my old 1UP blog (which is now shambling along, half-dead, at pixlbit.com as I struggle to balance free time and work), and I’m curious to see if you happen to point them out.
By the way… not to double-post, but I just remember one thing that’s been itching at the back of my mind since you started this series. Regarding the “starting with 30 health” issue, I *think* that the original Famicom Disk System version of the game stored your current health value upon saving. If that’s the case, that “design flaw” is the result of the conversion to a password system, and not wanting to add more characters than were already present. Now that I’m thinking about it, I may have to test-drive the FDS version and double-check this.
The Ice Beam making your weapon less powerful is something I would call a legitimate flaw in the game. I always found it annoying as a kid how this “power up” made it so that you had to shoot the enemies twice as many times to kill them. Sure, the utility usage of the Ice Beam is awesome, but when you just want to kill enemies, it’s a pain to have the Ice Beam. It would be fine if you could switch it on and off, but once you have it you’re stuck with it, unless you take a trip through Norfair and replace it with the Wave Beam.
Speaking of the Wave Beam, it’s also a pain how you can’t have both. For most of the game, the Wave Beam is what you’d really like to have, it’s much better at killing enemies than the Ice Beam. But the Ice Beam is also useful in many situations, and necessary for the final area. I really wish Metroid had the ability to switch between these two beams, I would even go as far as to say that this is Metroid’s greatest flaw.
I remember on one playthrough getting both Ice Beams before getting the single Wave beam. Boy, was that a costly mistake!
You can go back and collect the Ice Beam again if you pick up the Wave Beam, and vice-versa. Those power-ups respawn at the Chozo Statue if you need them.
Huh, really? The Ice Beams seemed to be gone when I returned for them. I want to say that maybe I went to the wrong place, but I’m pretty sure I was using a map… Hmm. I guess booting back to an old password might have been even worse for me. D=
The Ice Beam may make it so you can’t kill enemies as quickly with your beam, but considering some of the most beam-tanking foes can fall to a single missile blast it’s great for freezing them in place to blast them to bits. Missiles are good for more than red door locks, bosses, and Metroids, and the Ice Beam can help you waste less trying to bean one of those diving or hopping foes.
Really ICE post you made here.
@jparish: All the more reason to just get the Ice Beam in Norfair. The Brinstar Ice Beam location is a pretty horrible place to try to escape from, especially if you don’t have the boots for that extra boost of jump height.