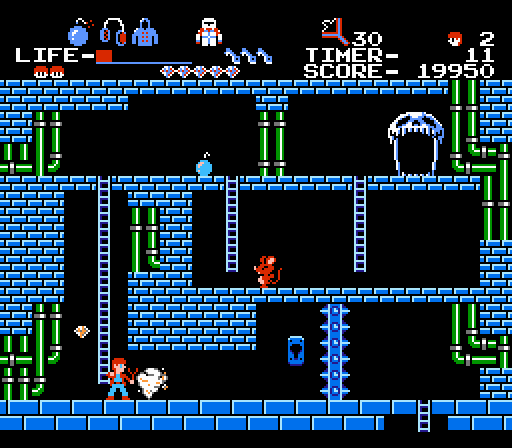
The Goonies doesn’t waste any time upping the stakes for you. After the simple, straightforward first level, which contains all the basics you need to know to play the game at a fundamental state, the second stage becomes considerably more complex.
As in the first stage, your goal – the locked door – appears directly beneath your starting position (right by the big skull). There’s no sense in going down there right away, however, because the door is locked and you haven’t collected the keys and captive pal you need in order to advance.
But, should you move down to the door anyway, two things will happen. First, you’ll waste a bunch of time traveling the twisting ladder-strewn route between the starting point and the door only to find the way forward blocked. Alas! You may even waste enough time here that you won’t be able to finish the stage before the timer runs down, squandering a precious life on carelessness. The Goonies doesn’t let you continue, and 1UPs are hard to come by.
However, the second effect of making a poor choice in the starting room is that you’ll accidentally uncover the trick to revealing this stage’s secrets. Where you revealed hidden objects in the first stage by kicking, that doesn’t work here. Instead, you need to press down. Handily, there’s a diamond hidden at the base of the long ladder leading to the door, and pressing down to climb a ladder still counts as pressing down. It will automatically reveal itself as you descend. This is your clue to the trick behind uncovering level two’s treasures… and, if for some reason you managed to clear level one without discovering any of its hidden items, well, now you know to look for them.
The door remains locked despite this stroke of good luck, though. The bulk of the stage waits for you behind the skull’s mouth, which acts as a door to another area.
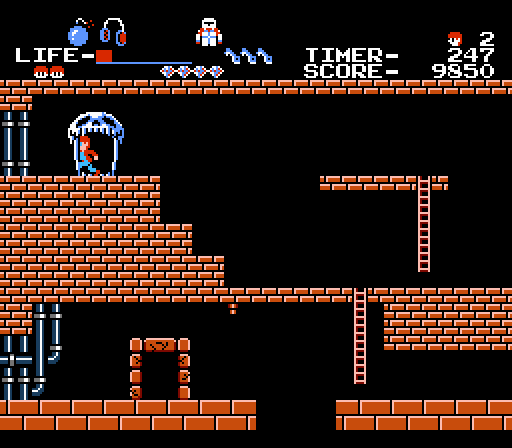
The door leads to a brown brick area. Evidently this is meant to be the foundation of the Fratelli’s restaurant, although that doesn’t explain the presence of flame jets blasting from the ceiling at odd intervals. Thorough explorers need not worry about those hazards, though – the blast suit hidden in the first stage will protect you from fire, which greatly reduces the difficulty of the second stage. Flame geysers have a tendency to show up at the edge of platforms, forcing you to manage the timing of your leaps. It’s hardly impossible, since there’s a couple seconds of delay between the flames, but when a Fratelli is bearing down on you it’s nice not to have to worry about waiting for the timing of a burst of flame.
The brown area is slightly wider than the first stage was, but it’s more of a passage than the stage proper; it contains only a few safes to crack, and it serves as a conduit between the blue brick areas.
Which isn’t to say you should overlook the items that it does contain, of course. Already the level design imposes some notable demands on players; even though this Goonie’s prison is directly to the left and below the entrance to the brown passage, the brick ledge above it to the left juts out just enough that Mikey can’t simply drop from the edge and pull to the right safely as he falls. Instead, you have to venture further to the left (past the first flame jet) and then double back. It’s not exactly complicated level design, but given the time limit you can easily overlook an essential pickup while dashing around – though this being only the second stage, the game goes easy on you. Even if you miss this your first time through, you have to retrace your steps through here and will definitely spot the sealed-up vault on your second pass.
The far left end of the brown passage leads you to another skull door, which takes you back into the blue zone. If you’re familiar with the sequel, the stage designs here actually kind of use the same front/back arrangement, though it’s never labeled explicitly as such… and, also, it lacks the dreaded “adventure scene” connectors.
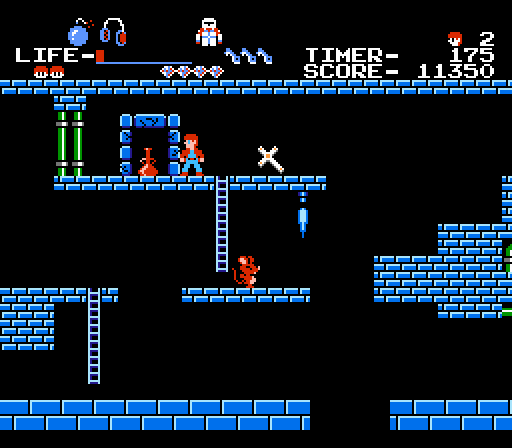
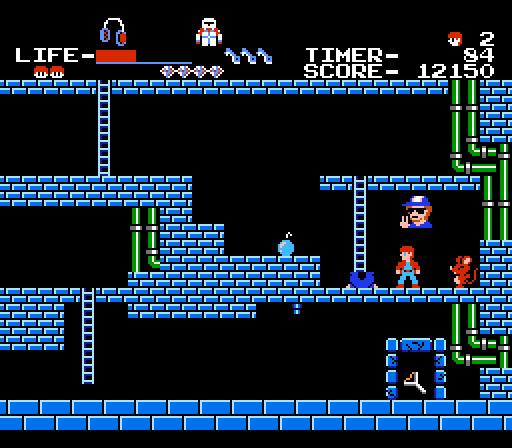
Because the second stage covers so much more area than the first, it contains more locked vaults than there are essential pickups to collect. The extra safes contain useful power-ups, including a health recovery item (pictured) and a slingshot weapon that gives Mikey the ability to attack from across the screen.
The slingshot overrides Mikey’s basic kick attack, which means you wouldn’t be able to find hidden items but for the fact that kicking no longer reveals them. Pretty smart of the game not to give you the slingshot until stage two, eh?
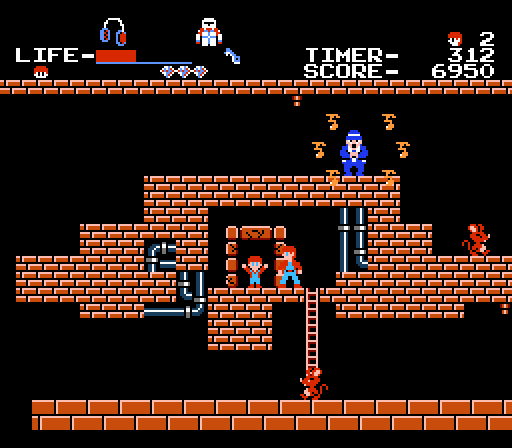
There are also some random hidden power-ups that provide points, such as the dude giving the peace sign here. I have no idea who this person is supposed to be, though. Richard Donner, maybe? A shaven Steven Spielberg?
Also hidden in this stage is a raincoat, which comes in handy later down the road when you have to deal with water-based hazards like steam pipes and waterfalls.
Once you’ve explored the entirety of the blue basement, you have to backtrack all the way to the beginning of the level, where that locked door was located. While this can make for a narrow escape in light of the strict time limit, it does have the side effect of giving you the opportunity to catch any essentials you may have skipped over before.
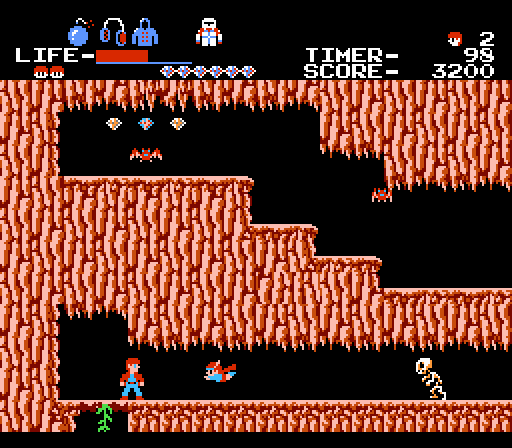
Completing stage two doesn’t send you immediately to the third level. Instead, there’s a sort of bonus connector area. It’s packed with dangerous respawning foes, but it also contains eight diamonds – enough to refill your health if you collect them all (which isn’t difficult, since they’re all clustered together in two groups of four). Also on tap here: A Konamiman bonus. Wai wai!
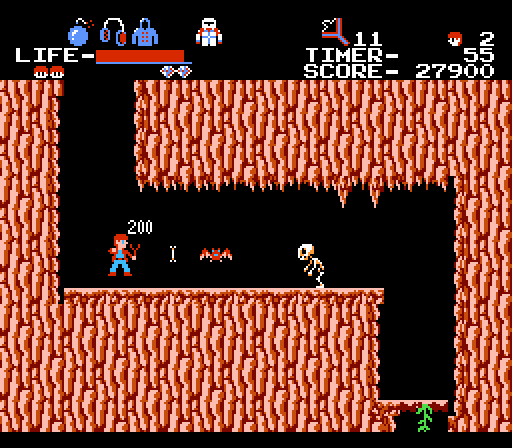
The slingshot is super useful here, since it can shoot the bones the skeletons fling straight out of the air. Simply kicking them doesn’t do you any good, so without the slingshot it’s better to avoid them. The downside is that the proliferation of skeletons in this bonus area wears down your slingshot pellets pretty quickly. But the area comprises only three screens of turf, so you can grab your diamonds and make a mad dash for it.
